

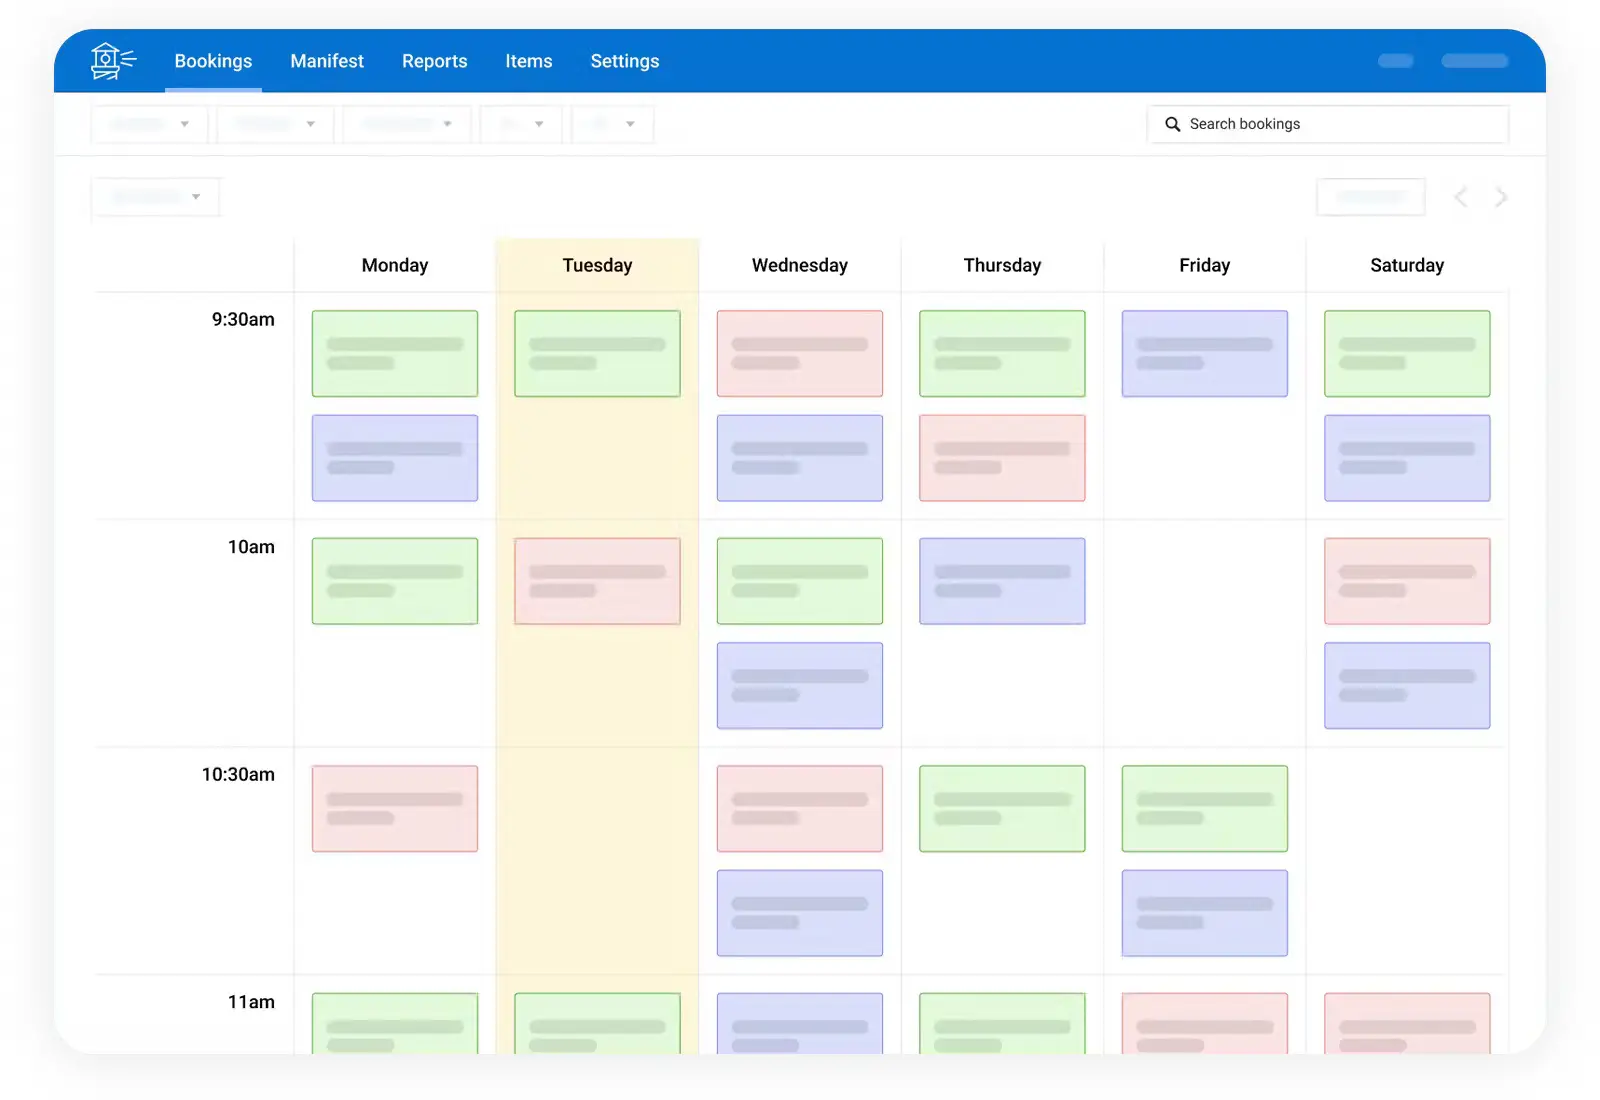

FareHarbor integrations are the connections between your FareHarbor account and the other tools that run your marketing: your website, Google Analytics 4, Google Ads, Meta, and Google Things to Do. When they are set up correctly, every booking shows up where it should, every ad platform knows which campaigns produce revenue, and travelers can book you directly from wherever they find you. When they are not, you end up with a beautiful website, busy ad accounts, and no clear idea of what is actually filling your tours.
The stakes are rising. According to Arival’s Global Operator Landscape research, OTAs captured 37% of tour and activity bookings in 2025, while the share booked on operator websites fell from 29% to 25% over the same period (Source: Arival, Global Operator Landscape, 4th Edition). Protecting and growing direct bookings starts with knowing exactly where they come from. This guide walks through each major FareHarbor integration, what it does, and what to check so it keeps working.
TL;DR
- FareHarbor integrations connect your booking system to your website, analytics, ad platforms, and Google Things to Do.
- On WordPress, FareHarbor’s booking flow is added with embed code or a plugin, so travelers can book without leaving your site.
- FareHarbor’s Lightframe booking window needs a tracking setup that follows FareHarbor’s own instructions, or GA4 will miss or duplicate bookings.
- Google Ads conversion tracking typically runs through GA4: mark the booking event as a key event, link GA4 to Google Ads, and import the conversion.
- Meta tracking lets Facebook and Instagram ads optimize for bookings and retarget visitors who did not book.
- Google Things to Do can send travelers from Google Search and Maps straight to your FareHarbor booking flow.
What Are FareHarbor Integrations?
FareHarbor is booking software used by many tour and activity operators. On its own, it handles availability, payments, and confirmations. Integrations extend it into the rest of your marketing so that booking data flows to the places where you make decisions. If you are new to the platform, start with our guide to understanding the FareHarbor ecosystem.
| Integration | What It Connects | Why It Matters |
| WordPress | FareHarbor booking flow and your website | Travelers book on your site, not a third-party page |
| GA4 | Bookings and your analytics | Shows which channels and pages produce bookings |
| Google Ads | Bookings and your ad campaigns | Lets bidding optimize for bookings, not clicks |
| Meta | Bookings and Facebook and Instagram ads | Enables booking-based optimization and retargeting |
| Google Things to Do | Your availability and Google Search and Maps | Adds a direct booking path next to attractions |
FareHarbor and WordPress
WordPress, known for its versatility and ease of use, pairs well with FareHarbor’s streamlined booking process. By connecting the two, tourism businesses can offer a simple, intuitive booking experience on their official website, with real-time availability, instant confirmations, and secure payment processing handled by FareHarbor while WordPress handles your content and design.
Benefits of Integrating FareHarbor with WordPress
- A booking experience that stays on your site: FareHarbor’s booking window opens over your page, so travelers do not feel like they have been sent somewhere else to pay.
- Centralized booking management: Bookings, availability, and pricing are managed in one place in FareHarbor, and your website always reflects the current calendar.
- Room for SEO: Your tour pages live on your own domain, where you control the content, structure, and SEO for tourism that help travelers find you.
- Branding and design control: WordPress themes and page builders let your site reflect your brand, while booking buttons and calendars can be styled to match.
How to Add FareHarbor to WordPress
- Set up your items in FareHarbor: Build your tours, activities, or rentals with accurate descriptions, pricing, and availability.
- Get the embed code or plugin: FareHarbor provides embed code for booking buttons and calendars, and a WordPress plugin is available for adding them to pages.
- Place booking buttons where decisions happen: Add them to each tour page, your homepage, and your navigation, so a traveler is never more than one tap from booking.
- Test on mobile: Run through the full booking flow on a phone to confirm the booking window opens, loads quickly, and completes payment.
- Go live and monitor: Watch the first bookings closely to confirm they appear correctly in FareHarbor and in your analytics.
Once the booking flow works, the job shifts to optimization. Our guide to tour operator website conversion rate covers the fixes that move the number.
FareHarbor and GA4 Analytics Tracking
This is where most FareHarbor setups break. FareHarbor’s booking window, called the Lightframe, works differently from a standard checkout page, and a generic GA4 installation often fails to record bookings or records them twice. Our article on why accurate GA4 data is crucial for tour operators explains the problem in detail.
To get reliable data:
- Install GA4 correctly on your site first. Follow our guide to installing GA4 on a WordPress site.
- Connect GA4 using FareHarbor’s instructions. FareHarbor documents how to connect GA4 to its booking flow, and its support team can help enable it. Follow those instructions rather than a generic setup.
- Use one tagging method. If you use Google Tag Manager, follow FareHarbor’s recommended configuration, and remove old or duplicate tags so bookings are not counted twice.
- Check your cookie consent banner. A misconfigured consent banner can block tracking on the very visitors who book.
- Test with a real booking. Complete a test booking and confirm the purchase event appears in GA4 with the correct value.
Google Ads Conversion Tracking for FareHarbor
Tracking conversions from your Google Ads campaigns is how you measure whether ad spend produces bookings. Without it, Google’s bidding systems optimize for clicks, not revenue. The most common approach for FareHarbor users runs through GA4.
Step 1: Confirm GA4 Is Receiving Bookings
Before anything else, make sure GA4 is recording FareHarbor bookings accurately, as described above. If GA4 is not yet connected to FareHarbor, contact FareHarbor Support to enable it. Everything downstream depends on this step.
Step 2: Mark the Booking Event as a Key Event
In GA4’s admin settings, find the booking confirmation event sent from FareHarbor, usually the purchase event, and mark it as a key event. Google renamed GA4 “conversions” to “key events,” so older guides may still use the previous term.
Step 3: Link GA4 to Google Ads
In GA4’s admin settings, open Product links and choose Google Ads links. Follow the prompts to connect your GA4 property to your Google Ads account.
Step 4: Import the Conversion into Google Ads
In Google Ads, import the GA4 booking event as a conversion action and confirm it is set as a primary conversion, so campaigns optimize toward it. Give it a few days, then compare Google Ads conversions with bookings in FareHarbor to make sure the numbers line up.
Optional: Third-Party Integration Tools
If you need more automation, third-party tools such as Zapier can help move FareHarbor reservation data into Google Ads, for example to build customer lists or to record bookings as offline conversions. These setups reduce manual work but add another system to maintain, so they make the most sense once the basics are working. For campaign strategy, see Paid Ads 101 for tour and activity providers.
FareHarbor and Meta (Facebook and Instagram)
Meta ads work best when the platform knows who actually booked. Connecting FareHarbor bookings to your Meta Pixel lets Facebook and Instagram campaigns optimize for purchases instead of clicks, and it powers audiences for retargeting visitors who viewed a tour but did not book.
- Connect the Pixel the way FareHarbor recommends. As with GA4, the Lightframe means a standard Pixel install may not see bookings. Check FareHarbor’s documentation or ask its support team for the supported method.
- Verify purchase events in Events Manager. Make a test booking and confirm the purchase event and value appear.
- Build retargeting audiences. Target people who visited tour pages or started a booking. Our guide to retargeting ads for tour and activity businesses explains how.
- Add a booking button to your Facebook Page. Point your Page’s call-to-action button to your website’s booking page so social visitors have a direct path to book.
For creative and targeting ideas, read our article on social media advertising for tourism businesses.
Get your Instant Revenue Analysis →
FareHarbor and Google Things to Do
Google Things to Do displays tours and activities in Google Search and Maps next to popular attractions. Google does not accept manual uploads; listings come from approved connectivity partners, and FareHarbor has a built-in Things to Do integration. When configured correctly, travelers can click straight from Google into your own booking flow instead of an OTA’s.
To get the most from it, link each experience to the correct point of interest, keep pricing and availability accurate in FareHarbor, write clear titles that name the location, and confirm your tracking captures bookings that arrive from Google. Our full guide to getting direct tour bookings with Google Things to Do walks through each step.
Why FareHarbor Integrations Are a Reason to Choose FareHarbor
Integration support is one of the main factors to weigh when choosing booking software. FareHarbor’s OTA connections, website embed tools, and analytics options are a large part of why we recommend it for many single-day tour providers. See our comparison of FareHarbor, Peek Pro, and other booking engines for the full analysis.
FareHarbor Integration Checklist
- Booking buttons on every tour page, tested on mobile.
- GA4 connected using FareHarbor’s instructions, with no duplicate tags.
- Purchase event marked as a key event in GA4.
- GA4 linked to Google Ads and the booking conversion imported as primary.
- Meta Pixel recording purchases, confirmed in Events Manager.
- Google Things to Do listings live and linked to the correct points of interest.
- Monthly check that bookings in GA4, Google Ads, and Meta roughly match FareHarbor.
Frequently Asked Questions
Does FareHarbor work with WordPress?
Yes. FareHarbor’s booking buttons and calendars can be added to WordPress pages with embed code or a plugin, so travelers can book in a window that opens over your site.
Why doesn’t GA4 show my FareHarbor bookings?
The most common causes are a GA4 setup that does not follow FareHarbor’s instructions for its Lightframe booking window, duplicate or conflicting tags, and cookie consent banners that block tracking. A test booking will usually reveal which one is the problem.
How do I track Google Ads conversions from FareHarbor?
Confirm GA4 is recording FareHarbor bookings, mark the purchase event as a key event, link GA4 to Google Ads, and import the event into Google Ads as a primary conversion.
Can FareHarbor list my tours on Google Things to Do?
Yes. FareHarbor connects to Google Things to Do, and when the integration is configured correctly, your listings can link travelers directly to your own booking flow.
Do I need a developer to set up FareHarbor integrations?
Basic website embeds are manageable for most operators. Tracking for GA4, Google Ads, and Meta is where small mistakes cause large data problems, so many operators bring in a specialist for that part.
Get Help with Your FareHarbor Integrations
BeaconPoint specializes in helping FareHarbor customers in the tourism industry with FareHarbor integrations, web design, advertising, and SEO services. If your bookings, analytics, and ad platforms do not agree, we can find out why and fix it. Start with an Instant Revenue Analysis to see where your direct bookings stand today.